

Decaf Coffee for Acid Reflux — Does It Actually Help?
Coffee and Acid Reflux — A Common

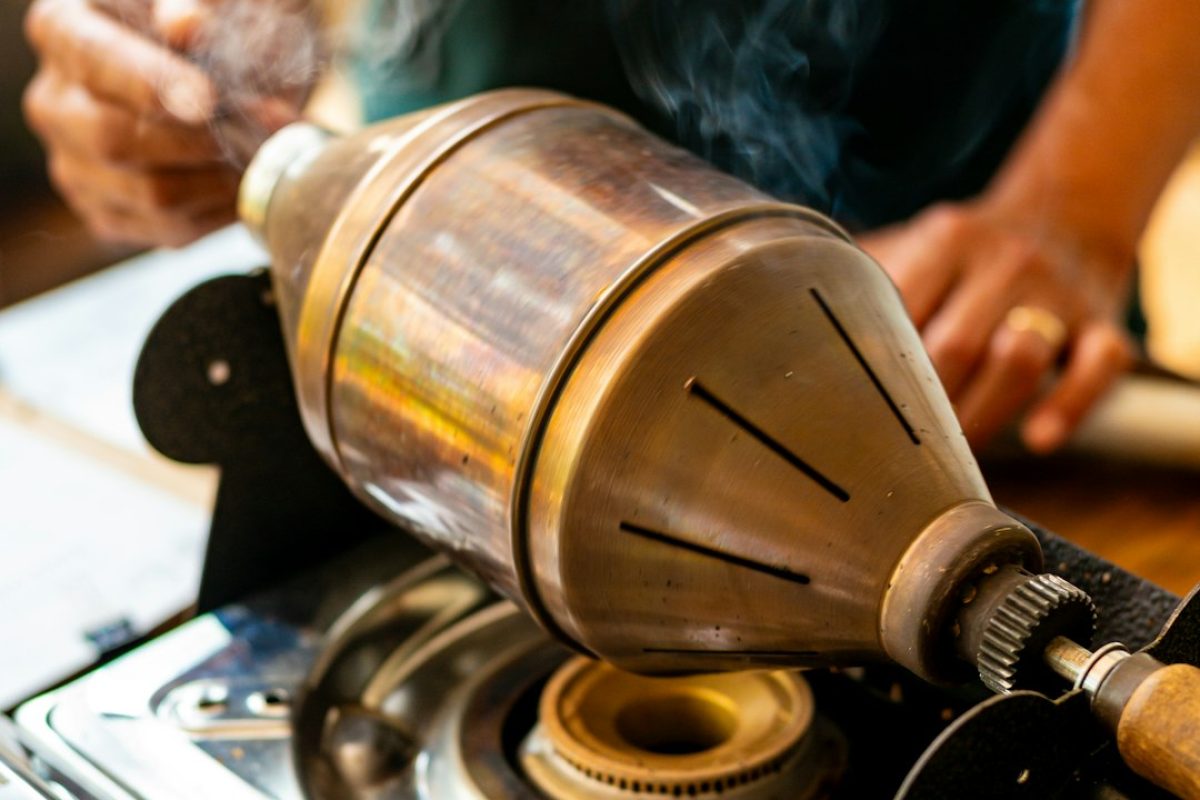
Home roasting is one of the most direct ways to experience coffee in its freshest possible state. When you roast your own beans, you control the degree of roast, you know exactly when they were roasted, and you can dial in a profile that suits your personal taste. It’s also genuinely absorbing — equal parts craft and science. Here’s how to get started.
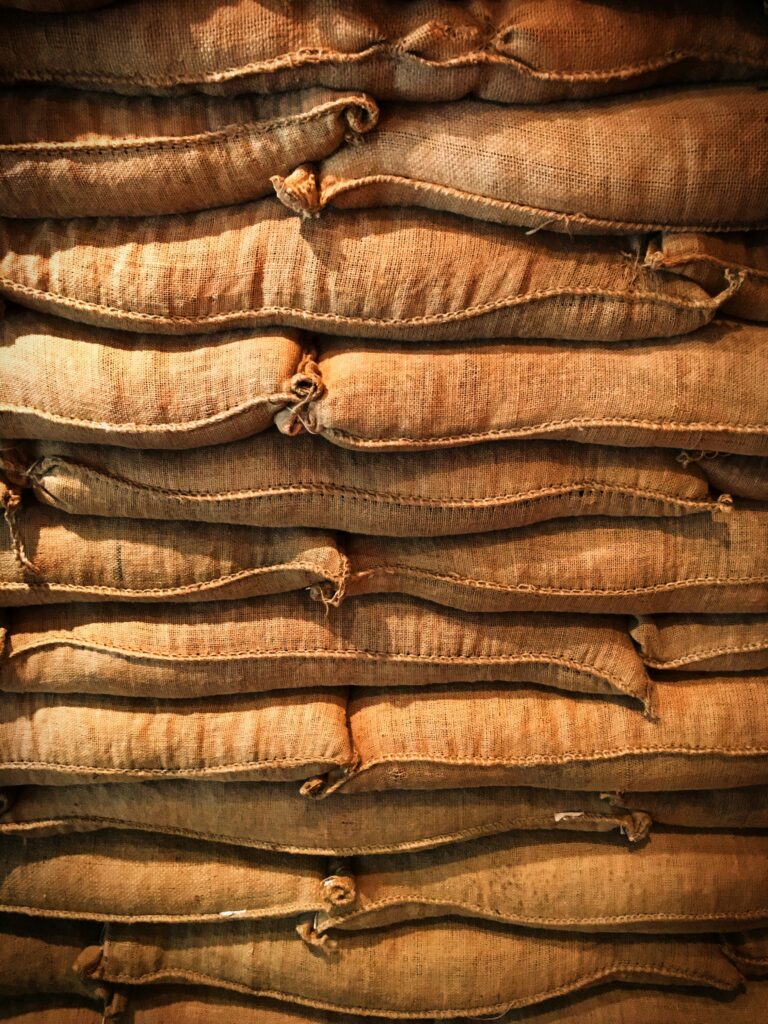
The main appeal is freshness. Green (unroasted) coffee beans are shelf-stable for up to two years, so you can buy in bulk and roast small batches whenever you want. The beans you brew will be days old rather than weeks, which makes a real difference to flavour — particularly brightness and aroma.
Home roasting also gives you direct control over roast level. Many commercial roasters target a fairly narrow range to suit their customer base; if you prefer a lighter, more acidic roast from an Ethiopian natural, or a darker, fuller-bodied profile from a Brazilian, you can tailor each batch to your taste.
You don’t need expensive equipment to start. The most common home-roasting methods are:
Regardless of equipment, green beans go through the same stages. Learning to recognise them by sight, sound and smell is the core skill of home roasting:
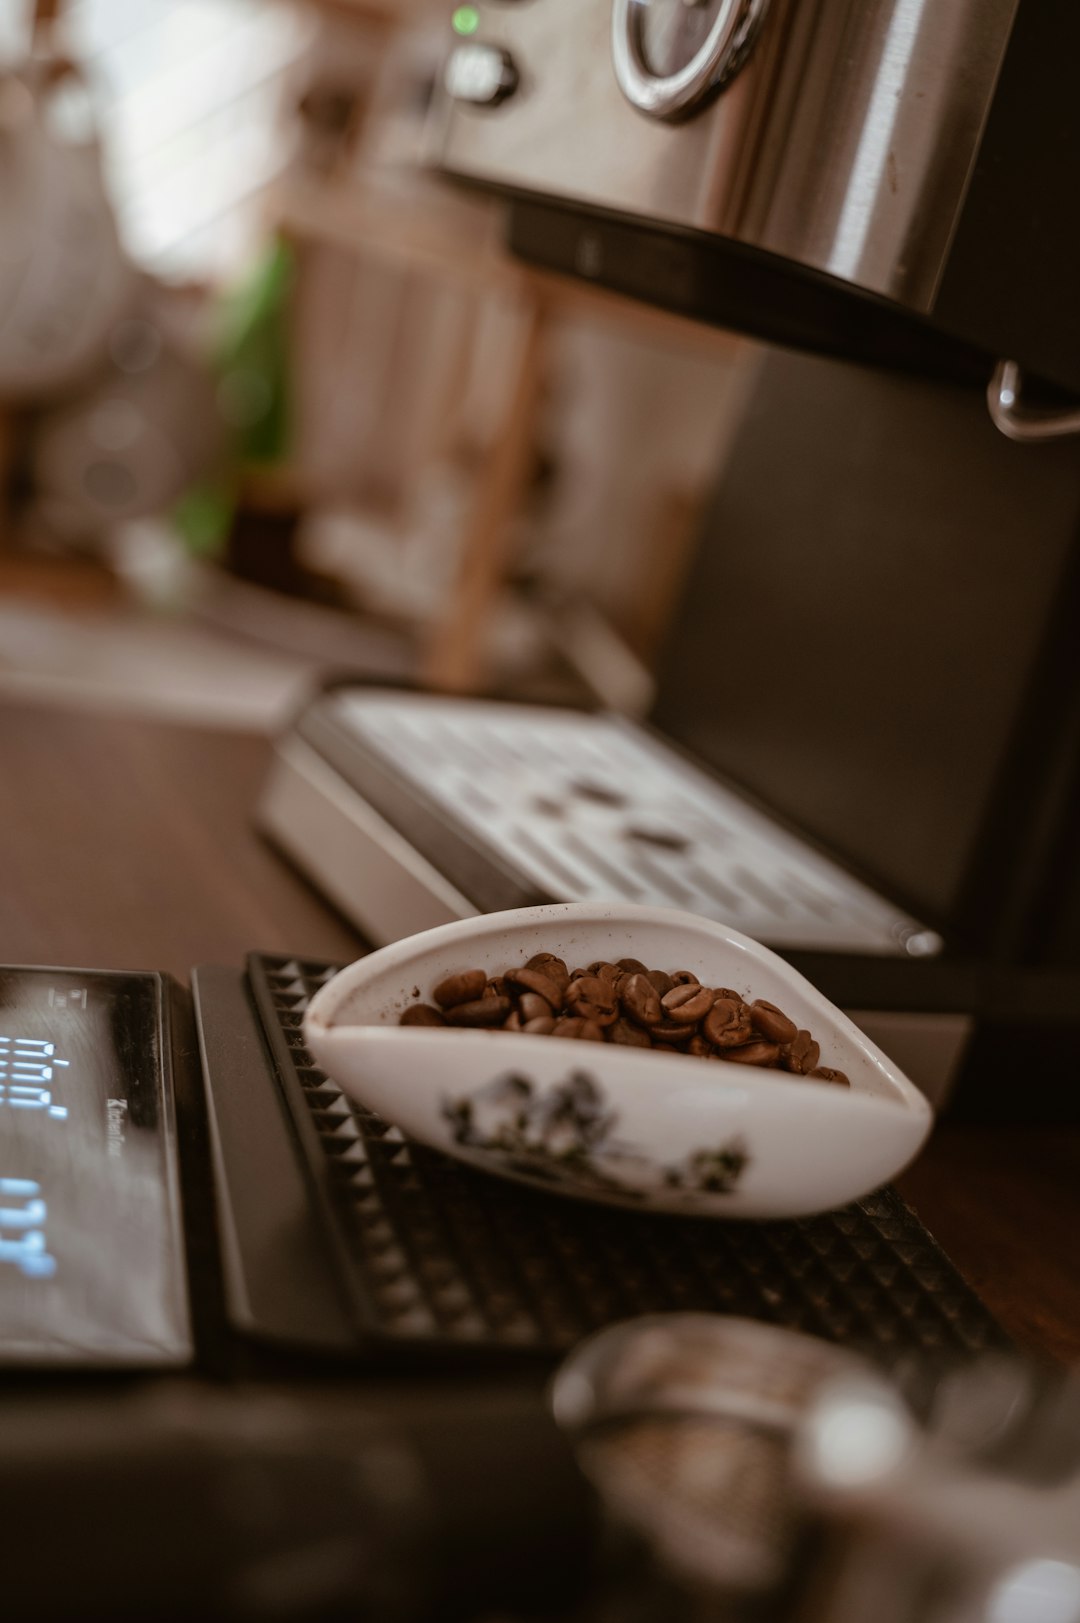
Once you’ve reached your target roast level, stop the heat and cool the beans quickly. Spread them on a tray or colander and stir or fan them to drop the temperature fast — this stops the roast from continuing via residual heat.
Freshly roasted coffee needs to rest before brewing. During the first 12–24 hours, the beans release a significant amount of CO₂ (the degassing process). Brewing too soon produces a gassy, uneven extraction. Most roasts are best from about 24–48 hours post-roast and remain excellent for several weeks after that.
For home roasting beginners, start with a forgiving, well-documented origin. Brazilian naturals are often recommended: they’re lower in acidity, naturally sweet, and tolerate a wide roast range without becoming unpleasant. Colombian washed beans are another good starting point — clean, balanced, and responsive to roast level changes.
Neli Coffee stocks specialty-grade green beans sourced from farms with full traceability. If you’re not ready to roast your own, fresh-roasted beans are shipped shortly after roasting so you still get all the freshness benefits without the extra step.
Coffee and Acid Reflux — A Common
Why Green Coffee Storage Matters Green coffee

Two Different Drinks, Often Confused Walk into
Why Cold Brew Coffee? Cold brew coffee